| |
Papier Mache': Bugs for
Ages 6-7
|
|
| |
[ Home ]
|
|
|
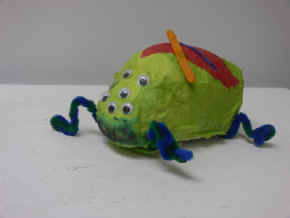
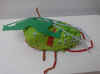
Student Project: Warrior Bug |
|
|
Supplies
and Materials
-
Wallpaper
Paste
-
White
School Glue
-
1"
Bristle Utility Brushes (Optional)
-
Paper
cups, small buckets for glue
-
Wax
Paper or Freezer Paper
-
Newspaper
-
Strips
of cardboard or craft sticks
-
Colored
Pipe Filters
-
White
Paper Towels
-
Colored
Tissue Paper
-
Google
Eyes
-
Foam
Construction Paper
-
Various
Notions
-
Scrap
Materials
|
|
Student Project
|
|
Student Project
|
|
Session One (one hour,
including clean up time)
-
Have students write their names on the freezer
paper. An 18" piece will accommodate most projects. It is not
too early to emphasize the necessity of working on the shiny side of
the paper -- glue doesn't stick to this surface, normally.
-
The Body: Have students crumple newspaper to
make a large ball. Place crumpled ball (depending on the
desired size of the insect, made from one sheet or multiple sheets)
into the center of another sheet and wrap together and secure with
masking tape.
-
The Head: In a similar fashion, shape a
smaller ball for the head.
-
The Legs: Take a strip of cardboard (1"
x 3") or craft stick and tape 3 pipe cleaners across it --one
at the top, one in the middle, and one on the bottom; these cleaners
should be taped at their half way point and left flat with the table
surface.
-
Tape the head and body balls together.
-
By applying pressure, flatten one side of the form.
Turn the bug over and tape the legs to the body (the side of the
strip with the pipe cleaners should be turned to face into the
body).
-
Note: If too much tape is
used there will be little exposed newspaper to hold the glue
(the glue and tape are not really compatible). To remedy
this problem, the body, or any other section/s) can be wrapped with a sheet of paper and
secured with as little tape as necessary. This is also a
solution for overly bumpy structures.
-
Collect projects and store till next session. Keep
the insect and the freezer paper together.
|
|

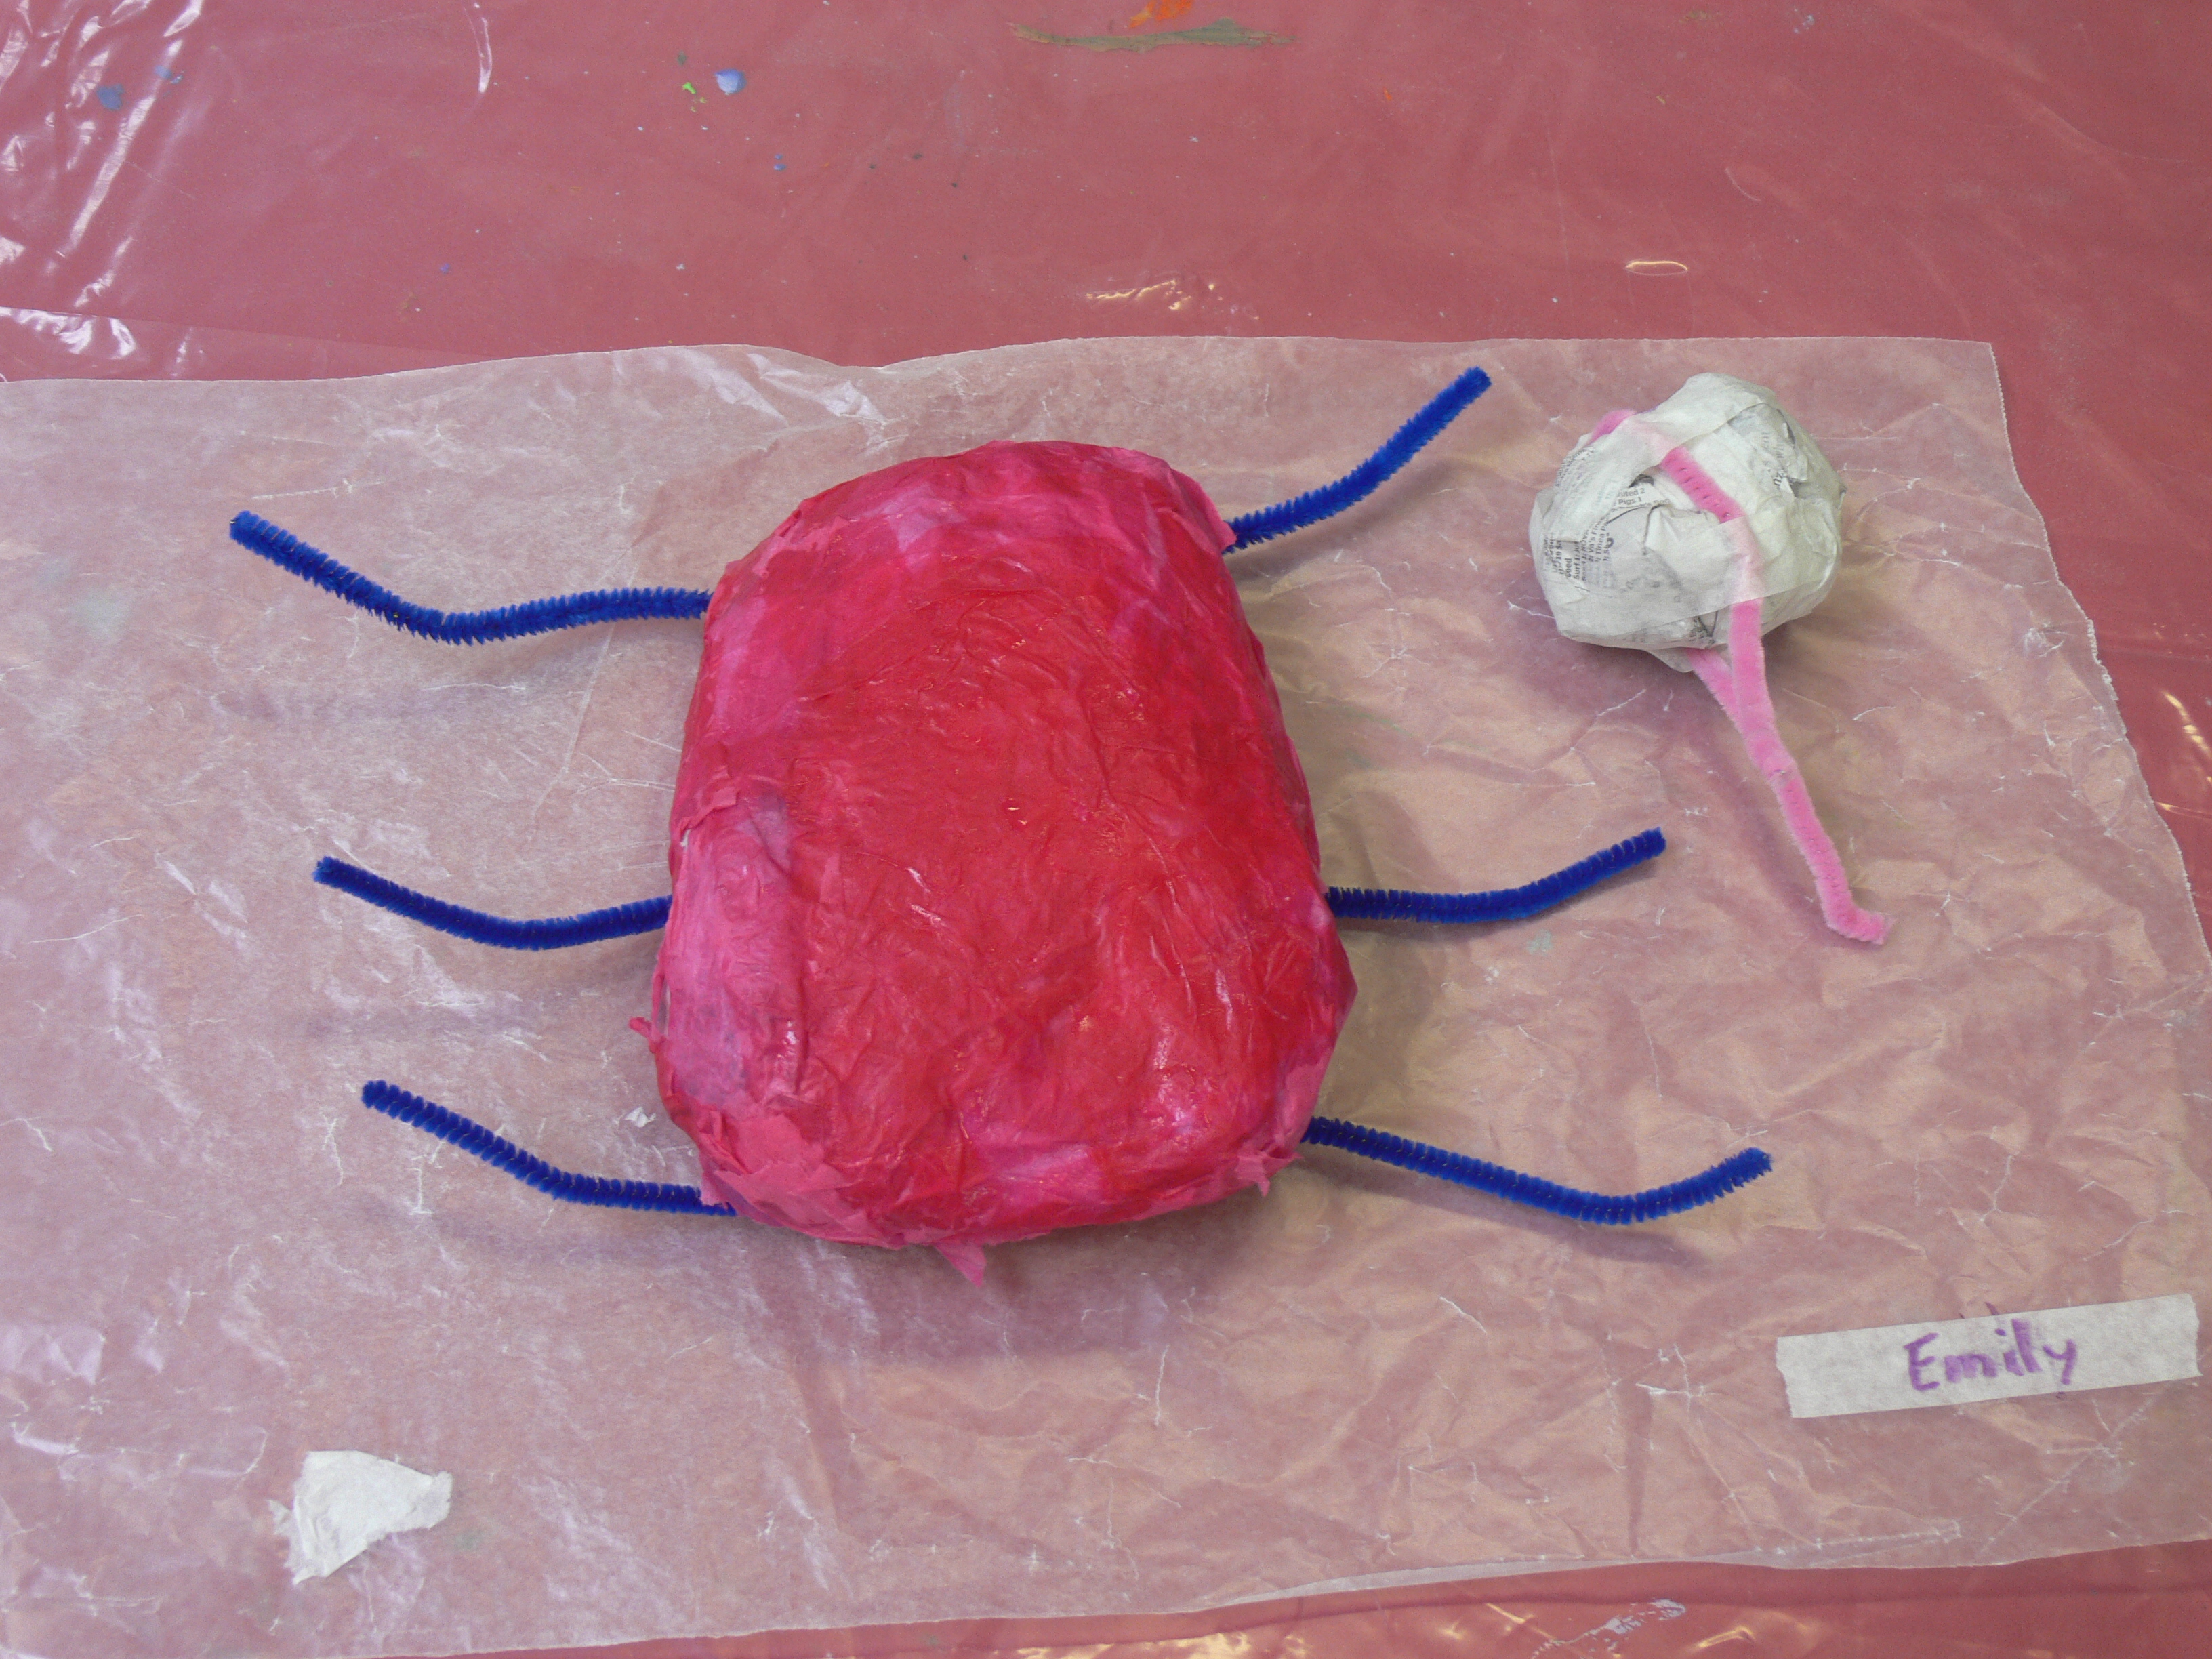
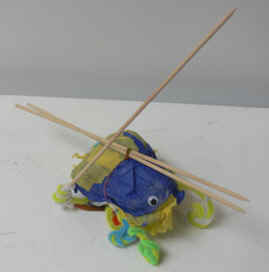
Student Project
This shows a working area (wax paper is a poor substitute for freezer
paper), notice that the legs are still spread out and flat to the table
surface. Included in photo (top right) is a small ball with pipe
cleaners that will become a bird. I use this small bird as a way to
easily show how to do the various steps. This technique doesn't take
long and is especially useful with the younger children -- easy projects
first.
|
|
Session
Two: (one hour)
-
At least 30 minutes before class, mix the
wallpaper paste/glue to a thick consistency, 1box for 15 to 20
students. Adding a cup of white glue (PVA) will make a
stronger bond.
-
Return projects to students and give each student a
cup of glue (for neatness, don't fill), a utility brush, and a
section of newspaper.
-
Show how to tear the newspaper into strips. Hold
full sheet of paper as reading and tear downward. A rather clean,
straight tear will result. Stress that perfection in tearing is
not that crucial to the final project, but that the skill makes
things easier.
-
Once the newspaper is torn into long strips, have
students tear into smaller sections -- about the length of their
hands.
-
Have students brush the entire insect, top and
bottom, with the wallpaper paste. Mentioning how "slimy"
the glue is before the students discover the fact on their own,
defuses most reluctance to get it on their hands.
-
There are several way to apply the glue and strips
of paper.
-
Brush on glue, apply strip, brush glue over
strip. Glue. Strip. Glue. Cross-Strip. Emphasize
that two pieces of paper cannot be stuck together without a
layer of glue. Crossing or weaving applications work
best. If one piece is laid vertical, then the next piece
is laid horizontal. Working from tips (ends) toward the
center is best. (The neatest method)
-
Smear the glue on with the hands and then
applying the strips. (The best for shaping fun forms, but
dries slowly and is very messy.)
-
Dip the strips in the glue and squeeze off
excess glue by pulling strips between gently closed
fingers. (Most pliable paper, reflects the form
underneath. Medium messy.)
-
Encourage students to apply a complete coat and then
another. The more coats (layers) the stronger the
insect. In some cases I alternate newspaper and paper towels
to show how many layers.
-
For final layer, pass out white paper towels, tear into strips and
apply just like newspaper. This is a substitute for white
gesso. It gives the project a white surface, so the color
tissue paper can cover without the newspaper showing.
-
Collect the project: insect and freezer paper. Let dry
two days if possible -- hair dryer can be used to speed up
process. Good ventilation is important.
-
If time is left explain how artist share and improve
on ideas. No one should feel like someone else has taken their
idea. Have students take turns talking about decorating their
insects and what their insect might be doing. Explain that
some students will want to create realistic insects and others very
fanciful. I mention ideas like: tutus, high-heels, gloves,
helmets, belts, hats, boots. Also, race car drivers, doctors,
astronauts, basketball players, and fashion models. After that the
students suggest things like: skateboard beetle, butterfly
doctor, lighthouse keeper lightning bug,
lady-bug nurse.
|
|
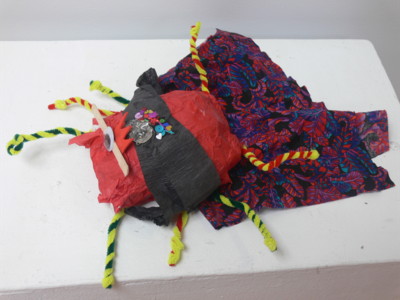
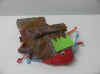
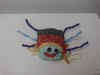
Student Project
|
|
Session
Three: (Half Hour)
-
Pass out projects, glue and brushes.
-
Tear color tissue paper sheets into
quarters. (Smaller sheets result in less waste.) Let students
have three sheets of their choice color. Encourage thinking
about patterns and textures, and explain that light colored bodies
will show darker patterns. More paper can be selected as needed.
-
Have students tear tissue into strips
and then apply like the newspaper strips. Glue. Strip. Glue.
Cross-strip. Glue.
-
Apply patterns in contrasting colors
or tones of torn paper.
-
Collect projects. Let dry for two
days if possible. If the previous session is dry, then one day
is normally enough.
-
If time is left, pass out drawing
paper and markers and have students draw where their insects live
(encouraging realism or fantasy) and try to get them to express a
feeling of time (morning, noon, afternoon, night, winter, summer,
fall, or spring.
|
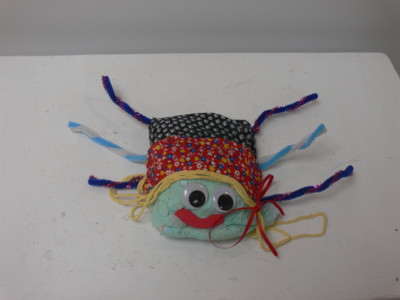
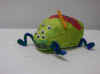
Student Project
|
|

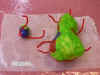
Student Project
|
|
Student Project
|
|
| Session Four:
(Half hour) + a lot of clean-up
(This session is the most variable -- some students take almost no
time and others are able to work for hours. Helping each other and
assigned clean-up activities can solve part of this problem.)
-
Prepare room by setting up work stations.
Beads, buttons, google eyes in one area. Construction papers in
another. Pile of material scraps in another. Pipe
cleaners, craft sticks. Yarns, strings, ribbons. Pom-poms,
bric-a-brac, and found objects.
-
Each students' table should have scissors and
glues.
-
Pass out projects. Have few students to talk about
their plans, this will get the creative juices going.
-
Tell them that they may get up and select items on
their own and get out of the way. This session is what it is
all about.
|
|